
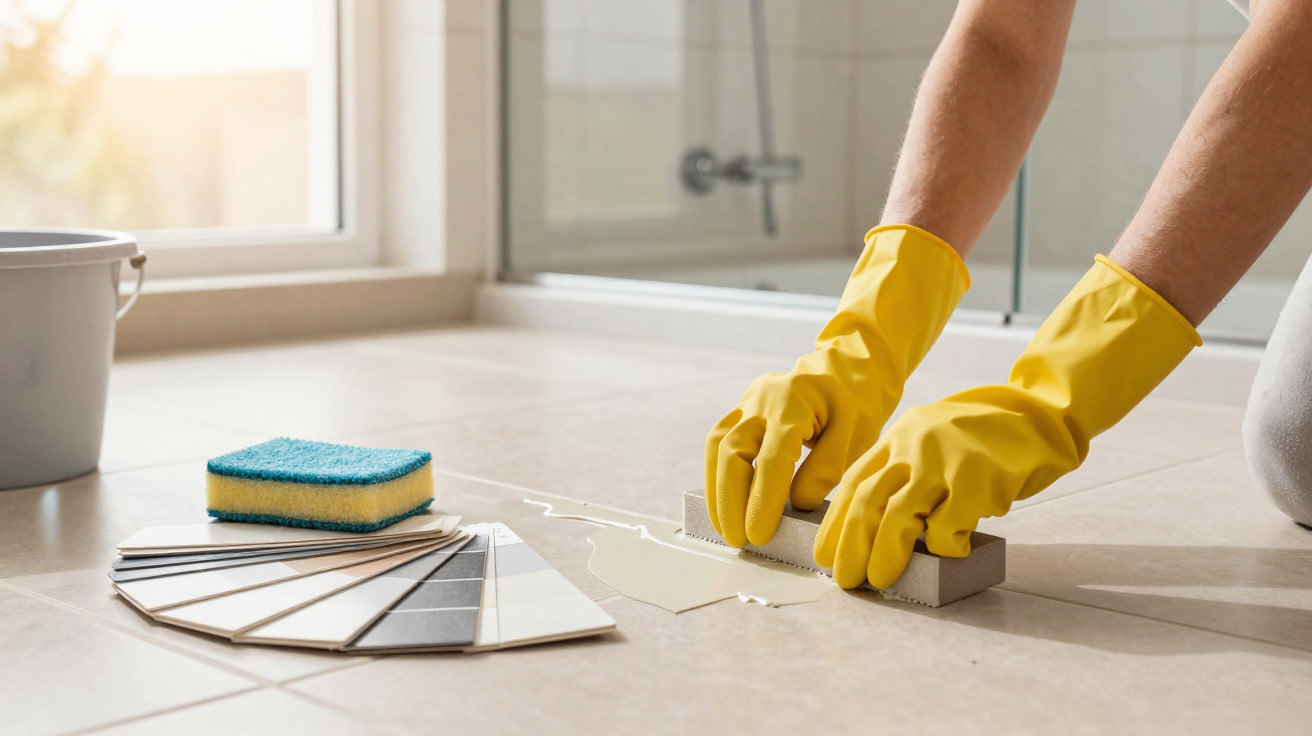
Keeping rooms clean and free from built-up dirt is a major day-to-day challenge in the home. Traditional grout tends to become stained and grimy very easily on damp surfaces. That is why investing in modern alternatives that simplify household routines is essential for a far more practical renovation.
Why is easy-clean epoxy grout advantageous?
Choosing the right material for flooring finishes helps prevent future problems with demanding cleaning. Epoxy grout is a highly innovative solution, particularly suited to bathrooms. This product stops stubborn dirt and heavy grease from adhering, ensuring a completely refreshed appearance.
As well as being impermeable to stubborn stains, its exclusive formulation prevents the growth of harmful micro-organisms. The resin compound ensures that the selected colour remains attractive for much longer. This smart technology makes home maintenance easier, keeping rooms consistently clean and protected.
The defining qualities of this innovative material deliver several essential benefits for your home:
- Complete waterproofing: Fully shields surfaces from continual moisture.
- Easier cleaning: Enables heavy dirt to be removed without intensive scrubbing.
- Anti-mould action: Prevents harmful fungi from developing in damp areas.
- Range of colours: Provides twelve excellent shades to match the tiling perfectly.
- High resistance: Offers superior durability, preventing the grout lines from darkening prematurely.
How should epoxy grout be applied correctly?
Correct application requires particular care to achieve an excellent finish on tiled surfaces. The product is supplied in two parts, which must be thoroughly combined. This creates a uniform mixture ready to fill the joints using a highly effective plastic spatula.
It is advisable to work on small sections of tiling to make the process easier. The compound must be spread within one hour. Afterwards, remove surface excess using firm crosswise movements to achieve a perfect, even alignment.
Below is a video from Quartzolit’s YouTube channel that explores the points covered in this topic in greater depth:
What are the secrets to the final cleaning stage?
Cleaning the tiled surface promptly after removing the excess prevents residue from hardening. Use a soft sponge dampened with clean water, making gentle circular movements. This step removes minor imperfections without harming the material and delivers an extremely smooth, professional visual finish.
Finishing tip
Refined finishing touch
To further enhance the appearance of your joints, you can use a dedicated profiling tool.
This accessory presses the product evenly, producing a continuous, elegant and fully symmetrical line between the tiles.
The final cleaning process should be carried out between one and two hours after the product is first applied. Use a clean, damp cloth to remove the last dull traces from the tiles. This stage clears away fine residues and ensures a completely uniform shine across the surface.
Carrying out each cleaning stage correctly provides the following aesthetic benefits for the room:
- Complete removal of dull marks around the edges of the tiles.
- Full preservation of the smooth texture achieved during profiling.
- Assurance of a perfect seal against unwanted future water ingress.
Where is epoxy grout most recommended?
Areas exposed to constant damp require materials with high technical performance. Domestic bathrooms are ideal places to use this product because of their contact with water. The tiled finish becomes waterproof, preventing structural problems in a long-lasting way.
Kitchens and utility rooms also benefit greatly from this technology because grease and chemical products build up continually. Its smooth texture stops dirt from sticking firmly, keeping surfaces washable and free from the grimy appearance typical of older grout lines.
The locations best suited to this type of grouting because of their high mechanical exposure include:
- Shower enclosures with high humidity and daily steam.
- Kitchen floors exposed to frequent grease splashes.
- Utility areas subject to direct contact with chemical products.
How do you choose the ideal grout colour for a room?
Colour coordination between the grout and tiles determines the visual impact of a residential project. Choosing similar shades creates a feeling of spaciousness in smaller rooms. Contrasting colours emphasise the tile shape, resulting in a modern design with considerable personality and a striking effect.
Grey shades undergo less colour change over time than standard white grout. This sensible choice reduces the effort required for heavy weekly cleaning while preserving an attractive appearance. Selecting the right colour provides enduring beauty and enhances your property in a lasting way.
Read also: Cleaning bathroom grout becomes much easier

Comments
No comments yet. Be the first to comment!
Leave a Comment