
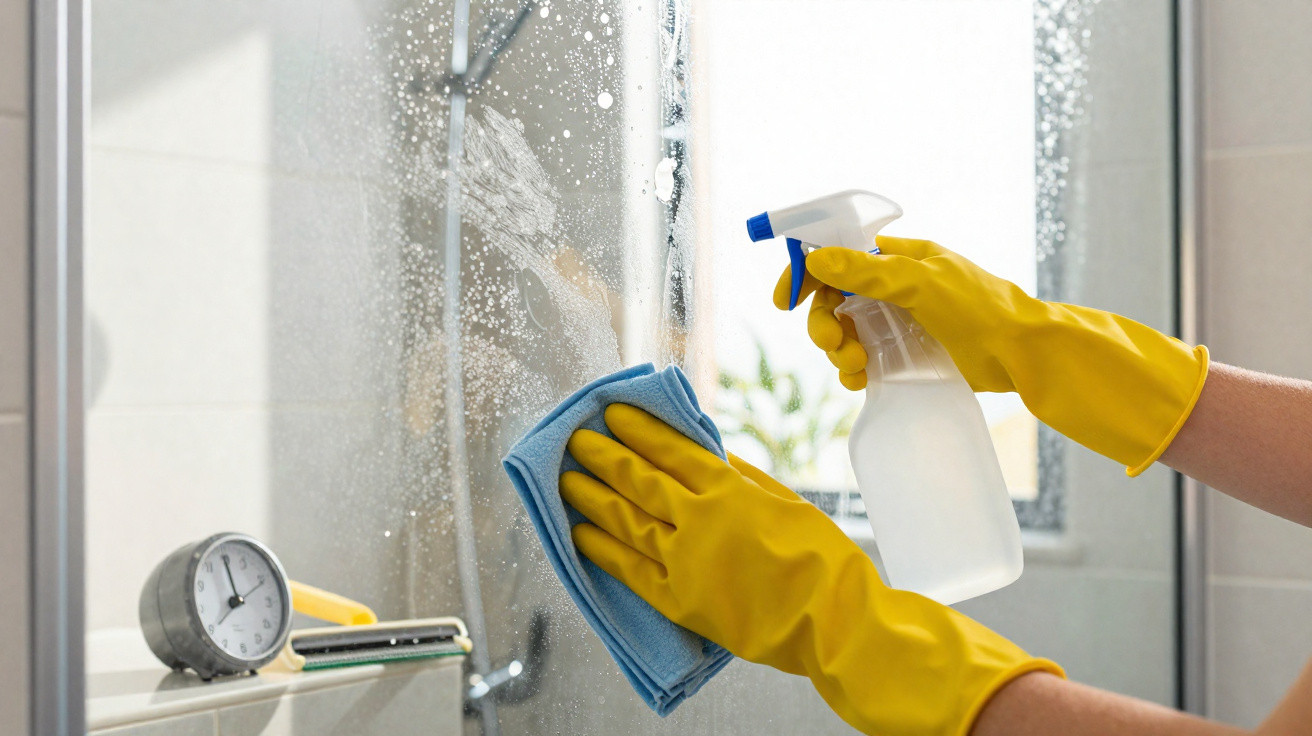
On a Saturday morning, the light catches the shower screen at an angle and exposes what you would rather ignore: white marks, a dull film across the glass and seals that have yellowed in places. We all know the moment when we scrub with vinegar, then bicarbonate of soda, without really understanding why the finish is still disappointing. The issue is not always a lack of elbow grease. More often, it is the wrong product for limescale that has already become firmly established. Cleaning company teams do not spend half an hour scouring every shower enclosure: they use a professional acidic limescale remover, often formulated with sulphamic acid. The process is straightforward, quick and far more targeted. The difference is visible almost immediately.
The product professionals use when limescale is stubborn
In a heavily scaled shower, white vinegar has its limits. Its acidity is relatively mild, so it may need a long contact time, repeated applications and more scrubbing. Professionals tend instead to choose a sulphamic acid limescale remover, available as a gel or concentrated liquid, because it breaks down mineral deposits without requiring huge effort. On a glass shower screen, it clings more effectively than a product that is too runny and does not immediately drain down into the shower tray. That detail makes all the difference.
In hotels, holiday accommodation or properties being handed back after a rental, time is limited. An experienced cleaner will often say that, on an enclosure maintained regularly, five minutes of contact time is enough to lift the white layer left by hard water. A study by the French Agency for Food, Environmental and Occupational Health & Safety notes that hard water is not unsafe to drink, but it can leave stubborn deposits on heated or continually wet surfaces. A shower is therefore the ideal setting for this small daily battle.
Sulphamic acid works directly on calcium carbonate, the principal component of limescale. When the acid comes into contact with it, the hard deposit gradually dissolves, avoiding the need to scratch glass or chrome with an abrasive sponge. The aim is not to scrub harder, but to let the right product do the work for you. The five-minute promise naturally applies to a standard layer of limescale, not to a shower screen neglected for three years behind a shower curtain.
A five-minute shower cleaning method without causing damage
First, give the screen a quick rinse with warm water, then remove the larger droplets with a squeegee or cloth. Spray the professional limescale remover over the glass, taps and whitened areas, while avoiding delicate surfaces that the manufacturer advises against treating. Leave it to work for three to five minutes, never longer simply "to be on the safe side". Next, wipe with a non-abrasive sponge or damp microfibre cloth, then rinse thoroughly with clean water. The final, frequently overlooked step is to dry the surface.
Many people mistakenly assume that a harsher product must be more effective. They then pour on a large amount of limescale remover, shut the bathroom door and wait for fifteen or twenty minutes. Let us be honest: nobody really does that every day, and it is unnecessary. A properly applied gel, a controlled contact time and thorough rinsing produce a cleaner result than piling up homemade remedies. Wear gloves, ventilate the room and keep the product away from children.
Material compatibility is the key precaution: marble, natural stone, certain delicate seals, unprotected aluminium and damaged surfaces do not all react to acids in the same way. Always test a small, inconspicuous area before treating the entire enclosure, particularly if your shower is a few years old or has matt finishes.
“A good limescale remover should dissolve limescale, not strip the entire bathroom,” sums up a simple rule often repeated by cleaning staff.
- Choose a limescale remover that lists sulphamic acid or phosphoric acid.
- Never mix an acidic product with bleach.
- Use a microfibre cloth or soft sponge, never steel wool.
- Rinse generously, particularly around the mixer tap and seals.
- Finish with a squeegee to slow the return of white marks.
The real secret to spotless showers is not a miracle product
A gleaming shower does not depend solely on the bottle beneath the sink. Above all, it comes down to what happens immediately after showering, when water remains on the screen and dries naturally, leaving its minerals behind. Spending twenty seconds with a squeegee may seem almost too simple to work. Yet this is what reduces the need for major descaling and helps preserve the appearance of the glass. Light weekly care prevents the dreaded big Sunday clean.
| Key point | Detail | Benefit for the reader |
|---|---|---|
| Professional limescale remover | Gel containing sulphamic acid or phosphoric acid | Works quickly on established limescale |
| Contact time | Three to five minutes, according to the instructions | Prevents excessive scrubbing and marks |
| Daily maintenance | Squeegee and quick drying after showering | Limits the return of the white film |
There is also a measure of realism to all this. If the water is very hard where you live, marks will always return to some extent, even in a new, perfectly ventilated bathroom. The point is not to fight every day for an immaculate advertising-style shower, but to adopt habits that make the chore less unpleasant. Between vinegar that struggles, bicarbonate of soda that does not actually dissolve limescale and a correctly dosed professional limescale remover, the difference often comes down to a few minutes. And seeing that transparent shower screen restored without exhausting yourself can sometimes make you want to tackle the rest of the bathroom.


Comments
No comments yet. Be the first to comment!
Leave a Comment