
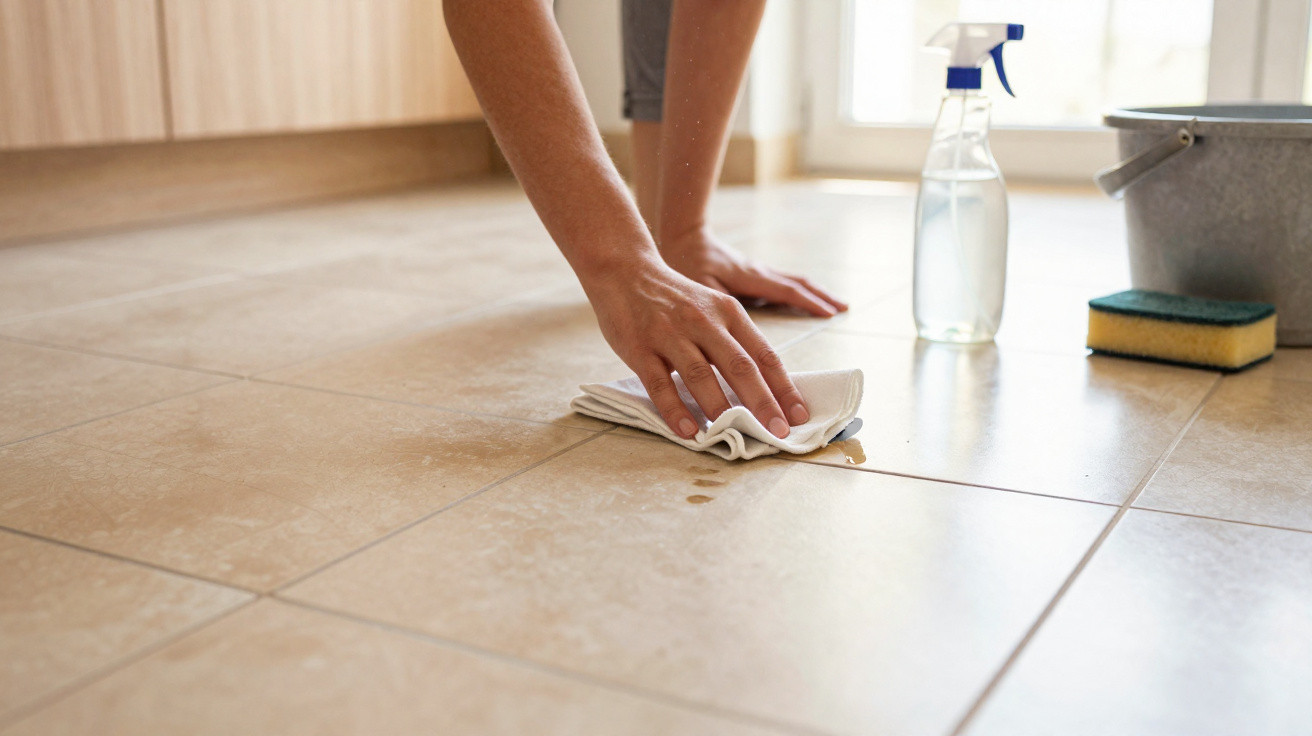
Grout is among the most important materials used when laying floors and wall tiles, yet it is also one of the biggest cleaning challenges afterwards. Made to set hard and withstand water, it can leave a tough, bonded film on ceramic surfaces-particularly matt or porous tiles. Knowing how to remove dried grout from porcelain tiles and ceramic tiles without harming the finish is therefore essential.
Why is grout difficult to remove from porcelain tiles?
The main reason is its composition. Cement-based grout combines cement, fine aggregates, pigments and additives that improve its strength and bonding properties. Once set, it effectively becomes a “stone” attached to the floor, working its way into tiny cracks, especially on porous, slip-resistant or slightly rough surfaces.
Resin grout presents an even more complicated situation. Formulated with resins and hardeners, it forms an almost waterproof, exceptionally hard layer suited to areas with high moisture levels or chemical exposure. If the first clean is delayed, what would have been a straightforward rinse can require specialist products and a more technical approach to prevent damage to the tiled surface.
How to remove dried grout from porcelain tiles without damaging the floor
When grout has already hardened, the safest approach is to use professional products formulated for cement or resin residues. These solutions react with mineral deposits, loosening surplus material without attacking the ceramic glaze. Floor and grout manufacturers often recommend them for post-construction cleaning.
The standard process generally involves several steps that keep the chemical action under control and help safeguard the surface, particularly across larger or heavily soiled areas:
- Dampen the area first to prevent the product from being absorbed too quickly.
- Apply the specialist detergent for cement residues or resin grout remover at the recommended dilution.
- Leave it to work for the period stated by the manufacturer, without exceeding the suggested limit.
- Scrub with a non-damaging material, such as a mildly abrasive sponge, a nylon-bristle brush or a microfibre cloth.
- Rinse thoroughly with clean water, removing every trace of chemical residue from the surface.
Highly acidic substances are not recommended for polished porcelain tiles or sensitive stone, including marble and travertine, as they can stain or etch the finish. In these situations, choose neutral solutions designed specifically for post-construction cleaning, or controlled acidic formulas recommended by the manufacturer. Always apply them with good ventilation, gloves and, where needed, safety goggles.
What should you consider before choosing a cleaning product?
Before choosing a method, assess the tile type, the grout that was used and how long it has been since the work was completed. Matt, slip-resistant and deeply textured finishes generally hold more residue, so treating the surface in smaller sections provides better control over the product being used.
A few straightforward measures can greatly reduce the risk of damage and repeated work, while also helping you find the safest product for each particular post-construction cleaning situation.
- Read the grout technical data sheet to establish which products are compatible and how soon the initial clean should take place.
- Check the porcelain tile guidance on the packaging or the manufacturer’s website for permitted and prohibited chemical agents.
- Test an inconspicuous area before treating the entire surface, checking for changes in sheen, colour or texture.
- Avoid metal tools and harsh abrasives, including metal scrapers, coarse sandpaper and steel wool.
- Ensure good ventilation and wear personal protective equipment, particularly when using acidic detergents and stronger removers.
Do gentle methods and home alternatives work effectively?
When excess grout is fresh or limited to the surface, gentler options can be very helpful. Using warm water and neutral detergent soon after installation reduces the likelihood of a hardened film developing. Mild home mixtures can also be useful for small touch-ups or isolated marks caused by cement-based grout.
Warm water mixed with clear spirit vinegar can react with light deposits, while a bicarbonate of soda and water paste applied using a soft sponge works as a mild abrasive. Combining bicarbonate of soda with vinegar creates fizzing that can help lift fine residues, and steam cleaning may soften the grout layer on certain floor types. However, these alternatives usually have limited results against very hard grout, fully cured resin grout or substantial build-up. In such cases, careful use of specialist products for post-construction cleaning remains the most effective and safest solution.


Comments
No comments yet. Be the first to comment!
Leave a Comment