
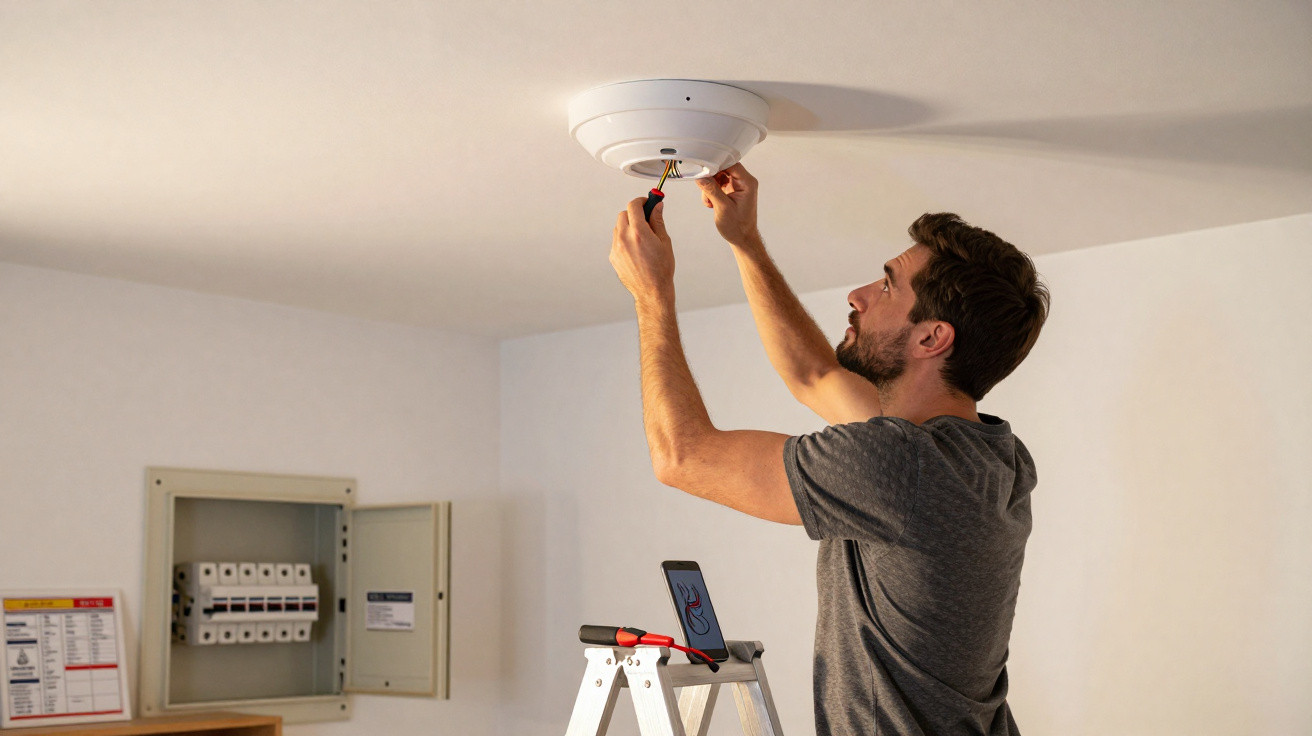
A wobbly lamp, a yellowed ceiling lampholder or poor lighting in the living room: these issues often remain untouched for months because of fears about electric shocks or costly tradesperson's bills. Anyone who follows a few straightforward safety rules can replace a ceiling lampholder themselves, gaining not only better lighting but also greater confidence when dealing with electricity.
Afraid of electricity? Why caution is justified but manageable
Electrical wiring can seem intimidating: exposed wires, technical terminology and stories of electrical accidents. That caution is sensible, as electricity cannot be seen and mistakes may have serious consequences. However, a standard domestic electrical installation follows clear standards. Replacing a simple ceiling lampholder is among the more manageable household jobs – provided nobody attempts it as a quick job on the side.
“Anyone who properly isolates the power, checks for voltage and connects the conductors correctly can replace a ceiling lampholder with virtually no risk.”
Preparation and discipline are essential: no improvising and no assuming that something will fit, but following a short, clear sequence instead. This turns a dreaded electrical task into a 15-minute project.
Before touching anything: safety checklist at the consumer unit
Before anyone touches a single screw, the electricity must be isolated. The wall light switch is not sufficient, because older installations can sometimes still leave voltage on parts of the wiring.
Isolating the electricity correctly and checking for voltage
The first stop should always be the consumer unit. There are two safe options:
- switch off the main switch (main circuit breaker) completely; or
- switch off the individual circuit breaker for the room containing the lamp.
If you are unsure which breaker controls the right circuit, use the main switch instead. It is better to cut power to the entire flat or house briefly than to turn off the wrong circuit.
Switching it off is not enough on its own. A circuit may be incorrectly labelled, rewired or have been extended “creatively” in the past. This is where a voltage tester is required, such as a two-pole voltage tester or, at a minimum, a simple phase-test screwdriver.
“The work area can only be regarded as genuinely isolated when the voltage tester shows no voltage whatsoever at the lampholder conductors.”
This takes just a few seconds, but it avoids a classic mistake: relying blindly on the breaker when the wiring is still live after all.
Tools and materials: what you genuinely need ready
Having to climb down from the ladder every minute wastes both time and concentration. Before starting, place everything required within easy reach:
- insulated flat-head or cross-head screwdriver, specifically intended for electrical work;
- needle-nose pliers or wire strippers, should the cables need attention;
- a new ceiling lampholder suited to the lamp base, usually E27 or E14;
- a sturdy step ladder or folding step – never a chair;
- a head torch or bright torch, because the lights will be off;
- a voltage tester for checking; and
- a smartphone to photograph the existing wiring.
Preparing everything in advance allows the replacement to be completed in one go and lowers the chance of careless errors.
Removing the old ceiling lampholder: gentle, not forceful
Old lampholders are often brittle, fragile and dusty. Excessive force can easily pull entire cables out of the ceiling, turning a 15-minute project into half a day of redecoration work.
Check once more, then open it carefully
Before opening the old lampholder, carry out one final voltage check directly at the connection terminals. If the tester shows nothing, work can begin.
In most cases, the outer casing of the lampholder can be unscrewed or pulled off. Behind it are the terminals, where the conductors are either screwed in place or inserted into spring terminals. At this stage, any metal parts on the wiring should only be touched using insulated tools.
“Stay calm: do not tug on the cables; instead, release the lampholder fixings one piece at a time.”
Remember the wiring: a phone photograph saves stress
Before disconnecting any conductor, inspect the arrangement carefully. Which colour is connected where? Are there more than two wires because of two-way switching or a second light fitting?
The simplest memory aid is a photograph taken with your smartphone. It will later show clearly which wire was in which terminal. Only then should the conductors be released one at a time, either by loosening the small terminal screws or pressing the release mechanism on spring terminals.
Once the conductors are free, carefully straighten them. Bent or nicked copper cores should be cut back far enough and stripped again, ensuring that only clean, undamaged copper is used.
Connecting the new ceiling lampholder: matching colours correctly
Modern lampholders are considerably more user-friendly than older designs. Many feature labelled terminals and spring contacts that make connection almost foolproof.
What the colours mean and how to connect them
The following colours are now used in most German households:
| Conductor | Colour (current standard) | Marking on the lampholder |
|---|---|---|
| Neutral conductor | blue | N |
| Live conductor (phase) | brown or black | L |
| Protective conductor | green-yellow | ⏚ or a dedicated symbol |
In very old installations, the live conductor may also be red or another colour. If unsure, identify which conductor is live using the voltage tester before isolating the power.
“Blue goes into the terminal marked N, brown or black into L – and the green-yellow protective conductor into its designated terminal, where provided.”
Crucially, the bare copper ends must disappear fully into the terminal. No wire should protrude from the side. A gentle pull test confirms whether the connection is secure. If a conductor comes loose when pulled, something is wrong and the connection must be redone.
Secure the mechanics: nothing should hang from the copper
Once the electrical connections are complete, deal with the mechanical fitting. Screw the lampholder casing back on or click it into place. Many models have an integrated cable grip, also known as strain relief, which secures the cable sheath.
Important: do not allow tension to pull on bare conductors or directly on the individual wires. Only the sheathed section of cable belongs in the strain relief. This ensures the cable weight is supported by the lamp rather than the delicate internal copper connection.
Testing the ceiling lampholder before putting the ladder away
Once everything has been fitted, the most suspenseful moment arrives. First move the ladder aside, so that nobody is directly beneath the lamp if anything is loose. Then return to the consumer unit.
Switching on: what a successful test looks like
Turn the correct breaker back on, then operate the light switch in the room. The ideal result is:
- The lamp lights immediately.
- There is no crackling, flickering or burning smell.
- The lampholder is firmly fitted and does not move when lightly nudged.
If the lamp remains off, the cause is often a simple connection fault: a conductor has not been clamped firmly enough, a wire is in the wrong terminal, or the bulb is defective. In that case, isolate the electricity again at the consumer unit and check everything calmly.
“Well-planned work on a ceiling lampholder rarely takes more than a quarter of an hour – including the circuit check and test run.”
When it is better to call a professional
Although the procedure is clear for a straightforward lampholder replacement, there are situations where DIYers reach their limits. Warning signs include:
- crumbling or porous insulation on the cables;
- several bundles of conductors in a very small ceiling box;
- evidence of heat damage or scorching on the old lampholder; and
- no recognisable logic in the conductor colours.
In these cases, the whole connection may need to be renewed. This should be left to a qualified electrician, who can also inspect protective measures such as earthing and residual current devices.
Useful background: why good lighting is more than appearance
A clean, working ceiling lampholder provides not only safety but also better illumination. Many people experience tiredness and low mood, particularly towards the end of winter. Bright, even room lighting can often act as a small energy boost.
While replacing the lampholder, it is also worth considering suitable bulbs: warm white for the living room, neutral white for the kitchen and home office. Combined with a safe, new lampholder, this creates a practical lighting setup that also saves electricity, for example through LED bulbs.
Every successfully completed step builds confidence in your own abilities. Anyone who has correctly replaced a ceiling lampholder will often feel ready next to replace a light switch or install a new light fitting. The key remains the same: retain respect for electricity, follow the rules strictly and never cut corners on safety.






Comments
No comments yet. Be the first to comment!
Leave a Comment