
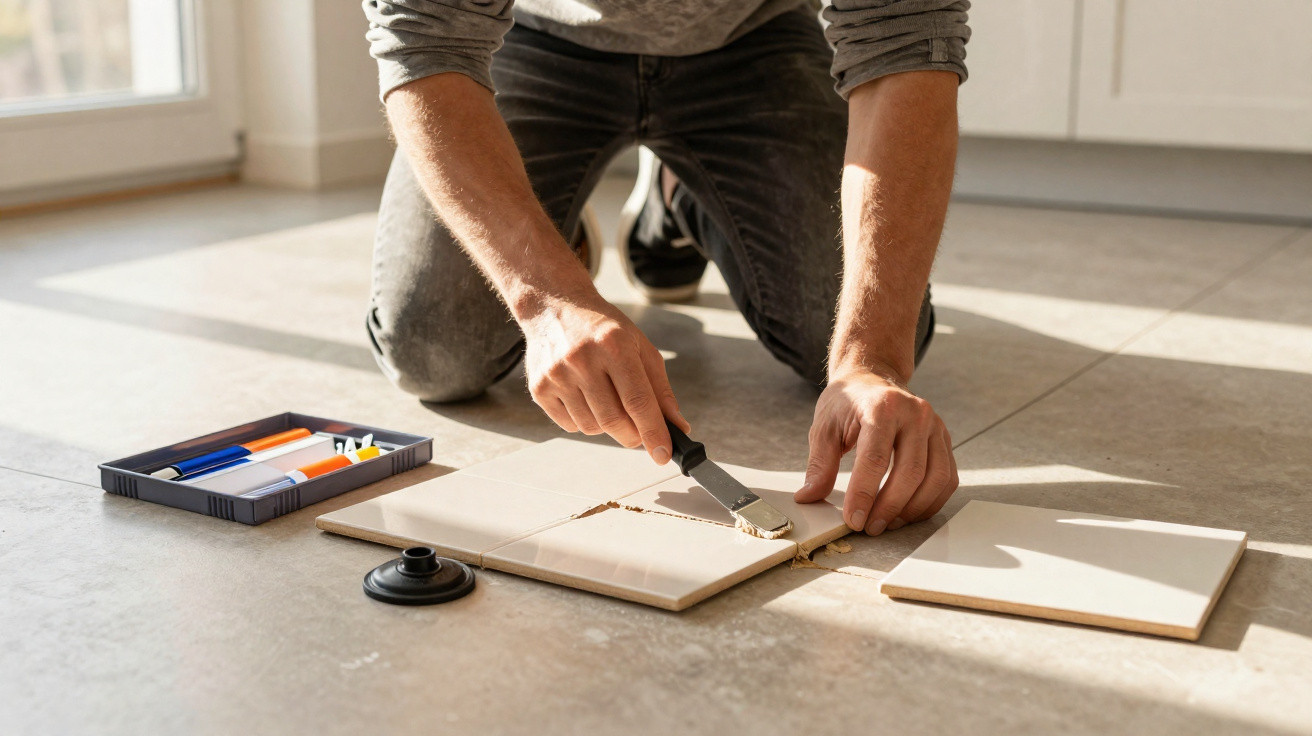
A glass falls, a heavy object slips, and a small, sharp “crack” abruptly breaks the room’s quiet. The tile is split on the floor, sometimes with a chipped corner too. The usual first response is to hide the area beneath a rug or postpone the repair. Then the weeks go by. Yet a damaged tile does not always require an expensive tradesperson’s visit. With the right approach, some patience and readily available products, it is possible to restore it to a very respectable appearance. The key is not necessarily force, but preparation.
Before repairing a tile, understand what the crack is telling you
Most of us know the moment: while mopping, barefoot and almost by chance, we spot a hairline crack. A fine, stable crack is entirely different from a tile that sounds hollow or whose pieces lift beneath your shoe. This distinction is crucial: in the first situation, a cosmetic fill is often enough; in the second, removing the tile should be considered. A close look at the grout lines around the damaged area already provides a useful clue to the floor’s true condition.
In a family kitchen, for instance, the corner of a tile may chip when a cast-iron casserole dish is dropped. The missing section may measure only two centimetres, yet it catches on socks and traps dirt. Repairing it with tinted epoxy resin can cost less than €20, compared with €80 to €150 for a tradesperson’s call-out, depending on the town or city and the scale of the work. The finish will not always be invisible from ten centimetres away. At normal standing height, however, it can be genuinely unobtrusive.
The real professional tip is not to mistake speed for rushing. A broken tile is often still stable because the adhesive beneath it remains firmly bonded; repairing it without pulling it up avoids weakening neighbouring tiles. Conversely, if you can feel movement, if a chip is spreading, or if moisture is getting in within a bathroom, replacing the whole tile is preferable. A two-minute assessment can save you from repeating the repair the following month.
The simple method for repairing a chipped or cracked tile
For a crack or small chip, first clean the surface with household rubbing alcohol and allow it to dry completely. Remove any crumbly material with the tip of a craft knife, without digging deeper than necessary, then mask the surrounding edges with masking tape. Next, mix a two-part epoxy resin, preferably one that can be tinted, following the ratio stated on the packaging. Epoxy resin repair is best carried out using a small spatula or flat blade, applying only a minimal amount with each pass.
The most common mistake is attempting to fill the chip with one large blob. The resin spills over, leaves a raised patch and becomes difficult to sand without scratching the surrounding tile. Let us be honest: nobody truly does this every day. Instead, take time to build up thin layers, particularly where the missing area is deep, and let each one cure for the period recommended by the manufacturer. Once the material is dry, very fine wet sandpaper can be used to gently smooth the surface.
Colour is what separates an obvious patch from a repair that blends into its surroundings. On white tiling, neutral resin may sometimes be sufficient; on beige, grey-veined or terracotta tiles, a few resin pigments can help you achieve a close match before filling the chip.
“The right approach is not to look for the perfect colour straight away, but to test it on a piece of card before touching the floor.”
- Clean and dry the tile;
- Remove only unstable fragments;
- Test the shade outside the room;
- Apply the resin in thin layers;
- Sand gently once it has fully dried.
When replacing the tile is the neatest solution
If the tile moves, has cracked into several pieces, or sounds distinctly hollow across much of its surface, a cover-up will not last for long. The tile must then be lifted, a task that remains manageable provided you work slowly. Begin by clearing out the grout around all four sides with a grout scraper, then break the centre of the tile using a light chisel. Treat the edges cautiously: this is where adjacent tiles are most likely to be damaged. Protective goggles are always worthwhile.
Always keep a few spare tiles once a project is complete, even if they seem inconvenient to store at the time. Ranges change quickly, shades age slightly, and finding the exact same design five years later can sometimes feel like a treasure hunt. When an identical tile is unavailable, one deliberate option is to create a decorative detail: replace a single tile with a patterned one, or make a small contrasting area near a skirting board. This visual trick can occasionally turn an accident into a design choice.
The trickiest part is clearing away the old adhesive. Holding a flat chisel almost parallel to the substrate helps prevent gouging the screed or piercing any waterproof layer beneath the tiles. Then apply suitable adhesive with a fine-toothed trowel, press the new tile into place while checking that it is level with the surrounding ones, and leave it to dry before regrouting. Do not walk on it too soon, even if the result appears solid. A successful repair is often determined during the hours when it is left untouched.
| Key point | Detail | Benefit for the reader |
|---|---|---|
| Assess the crack | A fixed tile can be filled; a moving tile should be replaced. | Avoids unnecessary work or repairs that are too fragile. |
| Use epoxy resin | It fills small chips and superficial cracks. | A quick, economical repair that is often very discreet. |
| Work without rushing | Thin layers, the correct curing time and gentle sanding. | A smoother finish that is less noticeable day to day. |






Comments
No comments yet. Be the first to comment!
Leave a Comment