
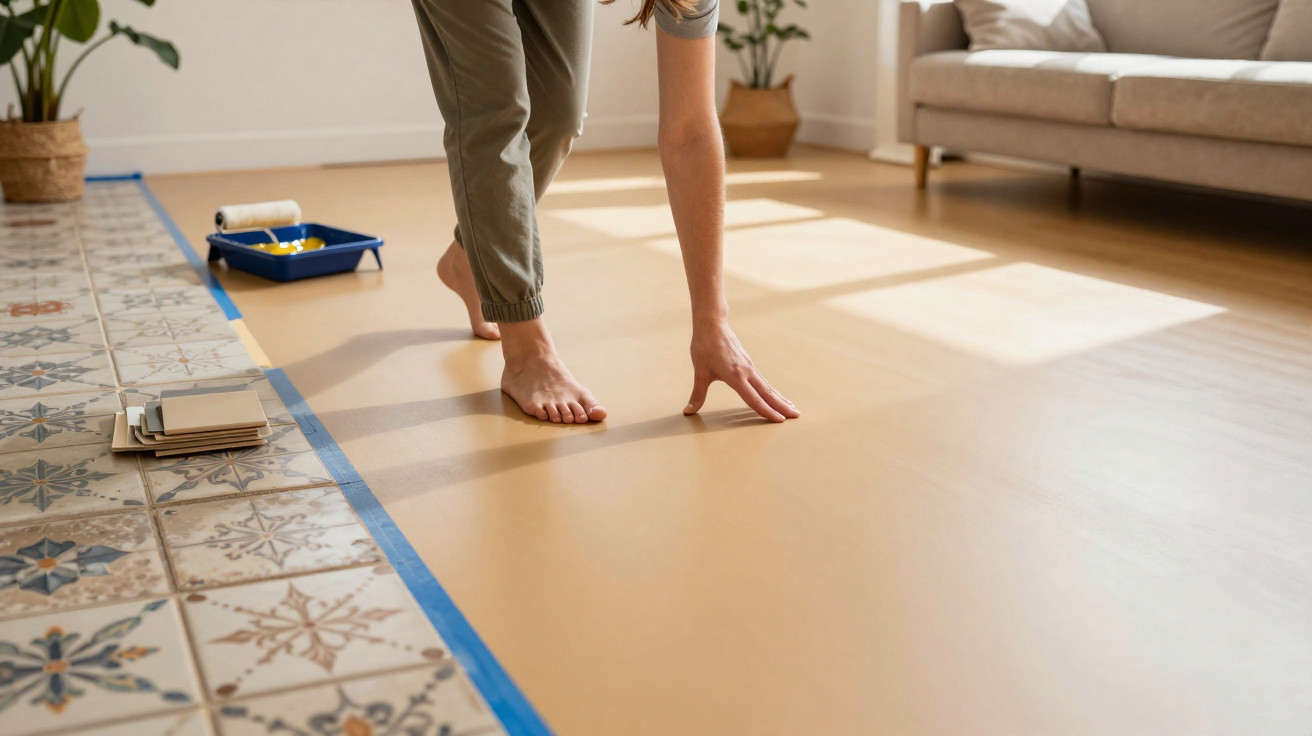
Many flats built in the 1980s and 1990s still have the classic tiled floor: beige, small-format and flawless, yet the whole room immediately feels dated. Anyone considering ripping out those tiles can already picture heaps of rubble, noise, expense and disruption. This is where a solution comes in that has long been standard in professional settings and is now increasingly finding its way into private homes.
Why removing tiles is usually the worst option
Replacing the entire floor may initially sound like the neatest answer. In reality, however, it involves:
- breaking up tiles, with dust and noise for several days
- disposing of rubble, arranging a skip and protecting communal corridors
- rebuilding, levelling and allowing the subfloor to dry
- laying a new floor covering, grouting and adapting skirting boards
Anyone living in the flat while the work is under way will quickly discover how demanding such a project can be. Furniture needs moving or putting into storage, doors remain open, and children and pets should be kept away from the area wherever possible. On top of that, tradespeople's prices are rising and waiting times can be lengthy.
A floor upgrade built directly over the existing tiles saves time, stress and often many thousands of euros.
That is precisely the principle behind a specialist floor finish which neither sticks on like a film nor clicks together like laminate, but instead forms a thin liquid layer over the old tiles.
Covering tiles easily: how the resin-layer method works
The solution is decorative resin, usually based on epoxy or polyurethane. The resin is poured or rolled onto the existing floor in liquid form, where it flows out into a smooth, sealed surface. Old grout lines disappear, making the room feel calmer and more contemporary almost instantly.
The visual change is particularly striking: rather than a small-scale grid of grout lines, the floor becomes one generous continuous surface, similar to a designer floor in a loft or a low-joint bathroom in a new-build home.
Typical benefits of resin flooring over old tiles
- no visible grout lines where dirt can collect
- an easy-care, wipe-clean surface, ideal for kitchens and bathrooms
- a choice of finishes: matt, satin matt or glossy
- faster installation than completely removing a floor
- highly durable and hard-wearing where the subfloor is sound
The colour range extends from concrete grey and warm sand shades to brilliant white or deep anthracite. Those who prefer a bolder look can choose dark, almost industrial finishes, while lovers of uncluttered interiors may opt for pale, calm tones.
Where a new resin floor is particularly worthwhile
Resin over tiles is especially suitable in rooms where the floor must withstand heavy use and be quick to clean. Common applications include:
| Room | Benefits of resin flooring |
|---|---|
| Kitchen | resistant to splashes, grease and stains; easy to wipe clean |
| Bathroom | waterproof, with few grout lines and less dirt collecting at transitions |
| Hallway | scratch-resistant; copes with outdoor shoes and moisture |
| Living room | calm, modern appearance, ideal for open-plan layouts |
This flooring is also appealing in recently purchased older flats. Anyone wanting to move in quickly can often create an entirely different impression with resin in just a few days, without confronting the landlord or the owners' association with demolition work.
The essential foundation: sound existing tiles
Useful as this method may seem, it only works if the existing tiled floor remains stable. A careful inspection is therefore required before the first layer is applied:
- Tap test: tiles that sound hollow or move are a warning sign.
- Grout check: loose grout or cracks must be repaired.
- Moisture: the floor must be dry, otherwise bubbles may form.
- Adhesion: very smooth tiles often require a special primer.
Pouring resin over an unstable floor simply moves the problem up one layer – eventually, the new coating will come loose.
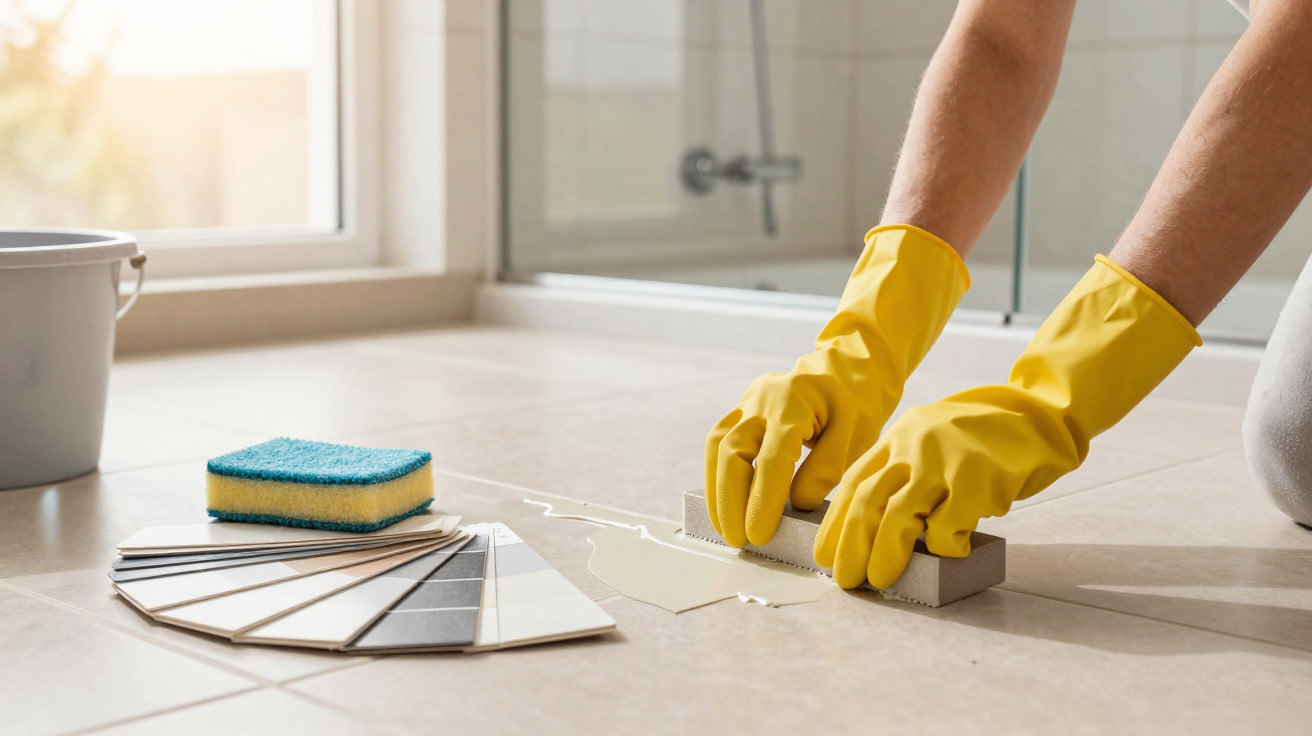
In many cases, it is enough to replace or secure individual damaged tiles, fill the grout lines and clean the floor thoroughly. Grease, soap residue and old care products would otherwise interfere with adhesion.
Step-by-step preparation
Before the actual floor finish is applied, professionals work through several stages:
- vacuum thoroughly and clean with a degreasing cleaner
- allow sufficient drying time so that no residual moisture remains
- re-grout loose joints or fill them with levelling compound
- sand tiles if necessary or treat them with an adhesion primer
- apply a primer so that the resin bonds more effectively
Filling the grout lines properly is especially important. If the recesses are not levelled cleanly, the old lines may later show through as faint grooves, particularly with light colours or strong incoming light.
Do it yourself or call in a professional?
At first glance, resin can look like a typical DIY project: buy a kit, mix it, roll it on and the job is done. In practice, however, the quality of application has a major influence on the result.
For small, rectangular rooms without numerous corners or recesses, DIYers can begin with ready-made kits from around €18 per square metre. It is generally sufficient to follow the instructions closely, work carefully and allow enough time for drying.
For larger rooms, open-plan living spaces or complex bathrooms, it is worth considering a specialist contractor. Experienced teams understand layer thicknesses, temperature, working time and the right choice of tools precisely. This reduces the risk of ripples, runs or visible joins.
The larger and more prominent the room, the more worthwhile a professional becomes – especially if the floor is expected to last for many years.
High-quality resin floors installed by a specialist generally cost around €100 to €150 per square metre, depending on colour, texture and slip resistance.
Non-slip in the bathroom, silky in the living room: choosing the right finish
Not all resin is the same. Texture and appearance vary according to the room and its intended use:
- Bathroom and shower: a lightly textured, slip-resistant surface helps wet feet maintain a secure grip.
- Kitchen: a satin-matt finish that does not highlight stains too strongly and is easy to clean.
- Living room and hallway: a smooth but non-reflective coating, often satin matt, gives the room a high-quality feel.
Additional protective layers, such as a transparent sealing lacquer, improve scratch resistance. This extra layer is especially worthwhile in heavily used areas such as entrance zones or in front of patio doors.
What resin can really do – and what it cannot
The new floor finish offers a number of advantages, but there are also points to understand beforehand. The key considerations are:
- Resin floors tend to feel cool, much like tiles. They work very well in combination with underfloor heating.
- Pointed objects can cause mechanical damage, although this can often be repaired locally.
- Over time, UV light may cause slight colour changes in some systems. Modern products have improved considerably in this respect, but south-facing windows remain a consideration.
- Anyone extremely sensitive to odours should avoid sleeping or working in the room during application and drying.
In return, the result is a floor with very little in common with a traditional tiled appearance. Rooms look larger, more modern and calmer, without the old floor needing to be removed completely.
Practical examples and combination options
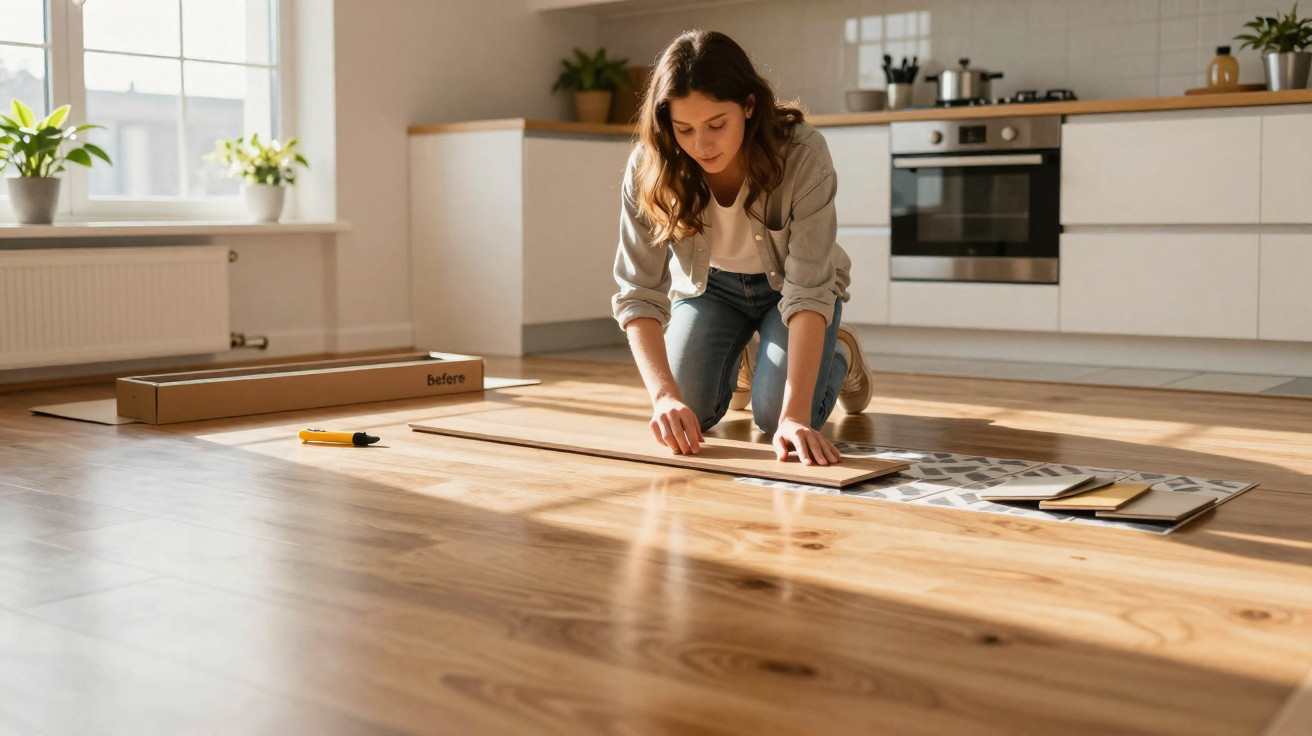
In many renovation projects, resin is deliberately used only in selected parts of the flat. Typical combinations include resin in the kitchen, hallway and bathroom, alongside parquet or vinyl in living rooms and bedrooms. This retains a cosy character in living spaces while making high-wear zones as easy to maintain as possible.
Its use in open-plan layouts is also interesting. Anyone wishing to visually separate the kitchen and living area can work with tonal variations: for instance, light grey in the kitchen and a slightly warmer shade in the living space. The surface remains the same, while the feel of the rooms changes subtly.
For allergy sufferers, a resin floor with minimal grout lines can be an advantage. Dust, pollen and pet hair are less likely to collect in crevices and can be removed more easily. The maintenance benefit also matters in households with children: knocked-over glasses, paint stains or building blocks are far less dramatic than on delicate wooden floors.
Anyone considering modernising a tired tiled floor should therefore no longer regard demolition as the only option. A well-planned resin layer can provide exactly the bridge between an existing floor and a new look, with far less noise, mess and stress.
Comments
No comments yet. Be the first to comment!
Leave a Comment