
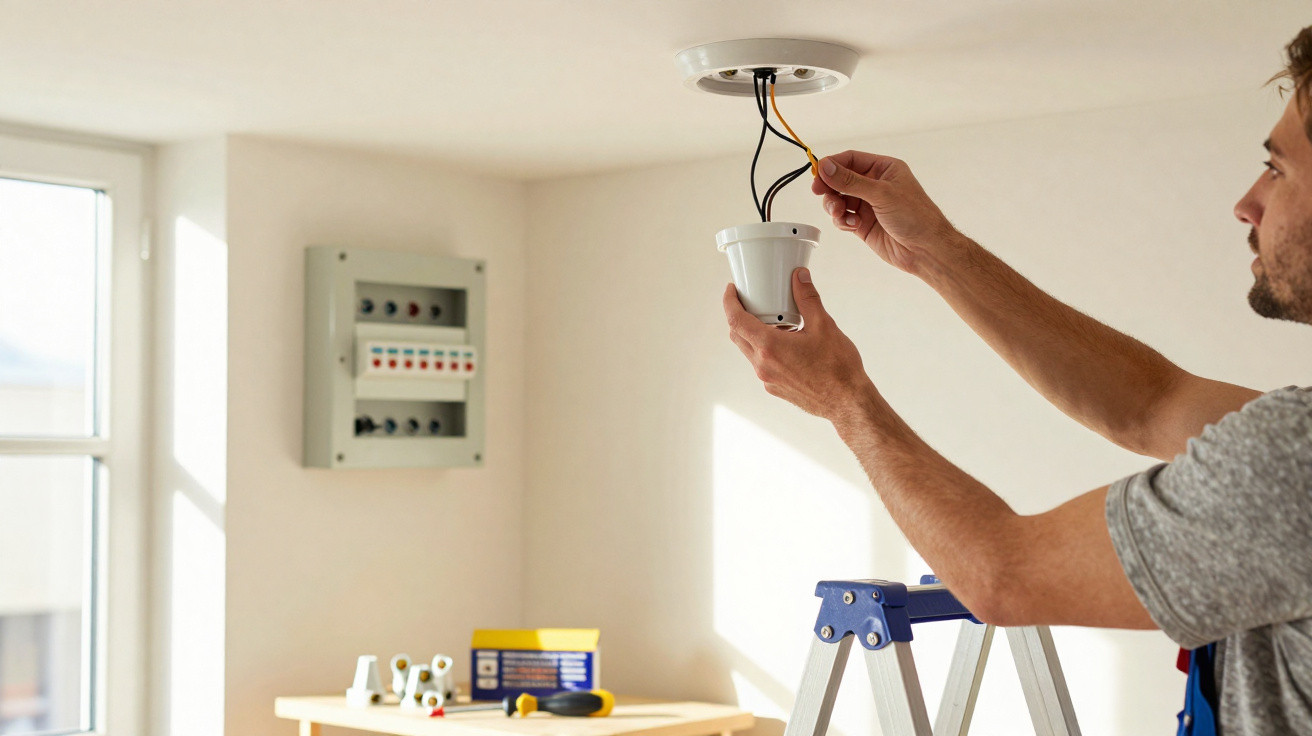
When a lamp stays dark, many people immediately assume an expensive repair is ahead. In reality, a few methodical checks are often enough to pinpoint the issue.
A lamp that will not light does not automatically require a costly call-out. First, establish the cause and isolate the electrical circuit. A worn, cracked or blackened lamp holder may be responsible. Replacing it is within reach of a careful DIYer, provided the work is approached with the same discipline as a qualified tradesperson.
Start with the right action at the consumer unit
A wall switch does not always provide complete protection while you are working. In some older electrical installations, it disconnects the neutral rather than the live conductor. The lamp may therefore appear off while electricity can still reach the wires.
Begin at the consumer unit instead. Switch off the circuit breaker serving the relevant lighting circuit. If the labels are missing or unclear, turn off the main supply. It takes little effort and prevents a potentially dangerous situation.
A switch in the off position is never a substitute for isolation at the consumer unit. The circuit must remain de-energised before touching any conductors.
Also tell anyone else in the home what you are doing. Someone may reset the circuit breaker automatically, believing they are fixing an ordinary fault. A note beside the consumer unit or a quick verbal warning reduces this risk.
The check that makes all the difference
Once the supply has been isolated, confirm that there is genuinely no electricity at the light fitting. The appropriate tool is called a voltage absence tester, often known as a VAT. It gives a more dependable result than a basic illuminated screwdriver.
The professional method has three stages: check that the VAT works on a live source, test the relevant wires, then test it again on that same live source. This prevents a flat battery or faulty device from creating a false sense of safety.
- Turn off the circuit breaker for the lighting circuit.
- Remove the bulb, then carefully open the fitting.
- Test every conductor with a working VAT.
- Do not proceed until it shows no voltage.
- Keep your hands dry and use a stable step ladder.
A multimeter can also show that voltage is absent, although it requires more experience to use correctly. For occasional work at home, a VAT remains the more reassuring tool. Its cost is modest considering the protection it provides.
Identify the wires before dismantling anything
Once you have confirmed there is no power, examine the existing wiring carefully. Take a photograph on your phone. It may seem obvious, but this simple step prevents plenty of uncertainty during reassembly.
A light fitting normally has two terminals. The live conductor is usually red, brown, black or violet. The neutral is normally blue. Green-and-yellow identifies the earth conductor. It is not always used with a small plastic fitting, but it must remain properly insulated where no terminal is provided.
On a metal light fitting, the earth conductor is essential. If it is missing, loosely connected or damaged, call a specialist.
Check the condition of the copper too. Copper that is blackened, brittle or oxidised often indicates previous overheating. Do not conceal this warning sign simply by replacing the fitting. The underlying cause may be a loose connection, an overly powerful light fitting or a worn connector.
Connections to follow for the lamp holder
On many lamp holders, the terminal connected to the centre contact takes the live conductor. The neutral connects to the threaded section surrounding the bulb cap. This arrangement lowers the risk when a bulb is replaced later. Always check the markings on the equipment: L denotes live and N denotes neutral.
Push the wires fully into their terminals. No copper strands should be visible outside. Tighten them securely, without crushing the insulation. Once tightened, give each wire a very gentle pull to make sure it is held firmly.
| Item observed | Appropriate action |
|---|---|
| Blue wire in good condition | Connect to the N terminal |
| Red, brown or black wire | Connect to the L terminal |
| Blackened copper or melted insulation | Stop work and seek professional advice |
| Metal fitting | Carefully check the green-and-yellow wire |
Choosing the right equipment matters too
Before buying a replacement, check the bulb cap type used by your light fittings. E27 and E14 are the most common sizes in homes. E27 is the larger screw cap, while E14 is the smaller version. Also check the maximum wattage stated on the lamp holder or light fitting.
LED bulbs produce far less heat than older halogen bulbs. This reduces thermal strain on fittings, particularly in a kitchen, hallway or corridor where lights are often used. However, an unsuitable LED can still flicker, especially when paired with an older dimmer switch.
Restoring power needs care as well
Close the fitting, fit the correct bulb, then move your hands and tools away. Return to the consumer unit, switch the circuit breaker back on and operate the wall switch. A steady light with no unusual sound or smell indicates that the fitting has been connected correctly.
Conversely, if the circuit breaker trips again, you notice a hot smell, hear crackling or see intermittent lighting, stop immediately. Turn off the main supply and contact a competent electrician. These signs may point to a fault elsewhere on the circuit, sometimes in a recessed junction box or at the consumer unit.
This kind of maintenance is also an opportunity to inspect older light fittings regularly. A poorly secured shade, cable trapped behind a ceiling rose or a holder weakened by heat can eventually cause a fault. Spending a few minutes checking during a bulb change may prevent more extensive work later on.






Comments
No comments yet. Be the first to comment!
Leave a Comment