
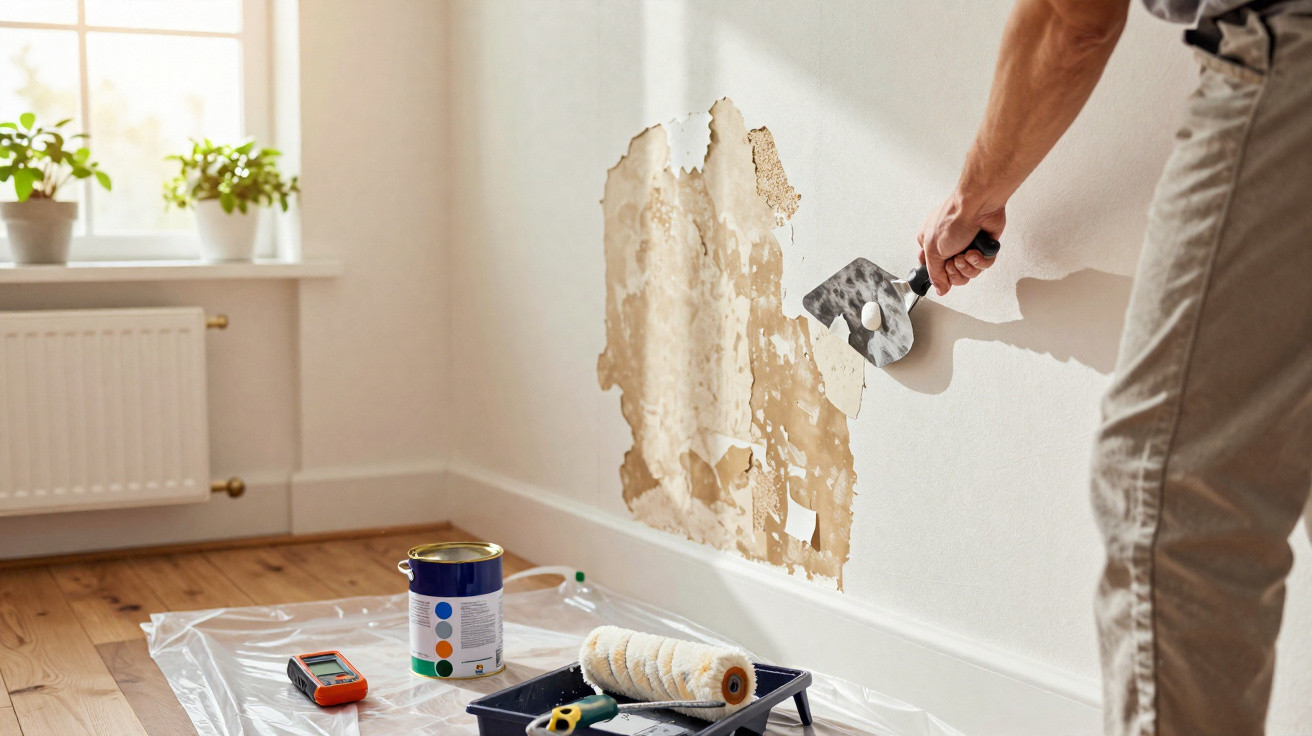
Restoring a wall damaged by damp involves more than scraping away flaking paint and applying a fresh coat. Before dealing with damaged render, mould, blistering and stains, you need to establish where the water is coming from: penetration, condensation, a leak or inadequate ventilation. Without this step, new paint may peel again within a few weeks.
Why does a damp wall start to peel?
Damp gets into a wall when water is retained in the render, waterproofing has failed, a pipe is leaking or steam is trapped in poorly ventilated rooms. Over time, the paint loses its grip, blisters develop and the surface begins to crumble when touched.
A wall damaged by damp may also show dark marks, a strong odour and patches of mould near the skirting board, ceiling or behind furniture. These symptoms indicate that the issue goes beyond the paint layer, with the masonry continually exposed to water or vapour.
What should you check before starting the repair?
Before working on the wall, identify the source of the damp. If there is a burst pipe, water penetration from outside or moisture rising from the base of the wall, a surface repair will not solve the problem. In these situations, plumbing repairs or sealing the external area must be completed before applying filler, primer and paint.
The following signs can help pinpoint the type of issue more accurately:
- Marks close to the ceiling may point to a roof leak, an unprotected concrete slab or a fault in the roof.
- Blisters near the skirting board often occur when damp rises from the floor or foundations.
- Mould behind cupboards suggests limited air circulation and excessive steam in the room.
- Hollow or crumbling render shows that water has already damaged the finishing layer.
How can you remove loose material without damaging the surface further?
The first practical step is to remove peeling paint, loose filler and damaged render with a sturdy scraper. Leaving soft sections on the wall serves no purpose, as they prevent repair products from bonding properly and create an unstable base for the new paintwork.
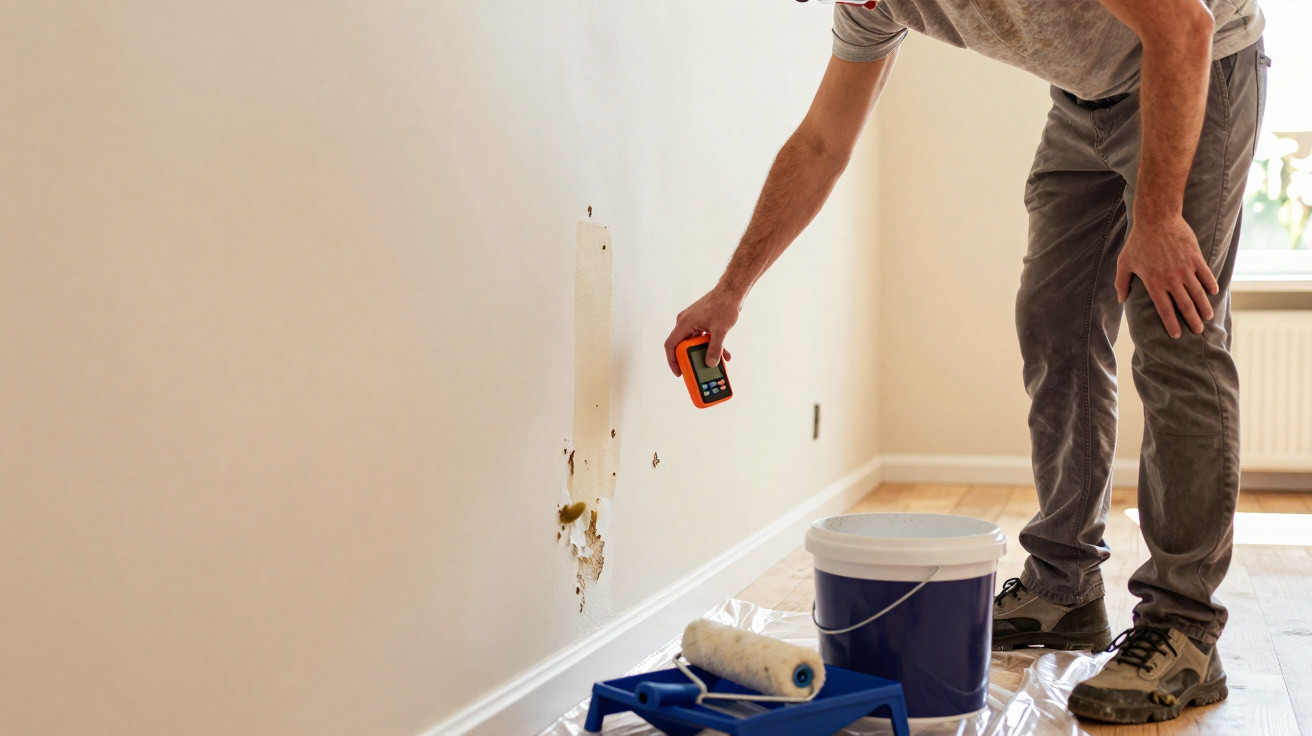
Once the surface has been scraped, sand the area to smooth the edges and remove fine residue. Where mould is present, clean the wall before using any product. The wall must feel dry, have no smell of active damp and be free from built-up dust before it receives primer, waterproofing treatment or repair filler.
Which products help restore a wall damaged by damp?
After the cause of the damp has been fixed and the area cleaned, protective and finishing products can be applied. Waterproofing treatment helps seal the surface, primer evens out absorption, and filler corrects minor imperfections before the final coat of paint.
For a more reliable repair, the process generally follows this order:
- Apply a waterproofing product suitable for an internal or external wall, as appropriate.
- Use acrylic primer if the surface is porous or highly absorbent.
- Fill holes and uneven areas with a filler suited to the room.
- Finish with anti-mould paint or paint designed for areas exposed to steam.
When is the wall ready for new paint?
A wall is ready to be repainted once the source of the damp has been resolved, the render no longer releases dust, the repaired section is dry and no fresh blisters appear. Painting sooner merely hides the problem briefly and may trap water inside the masonry.
The finish lasts longer when the base is treated fully: loose material is scraped away, the wall is dried and sealed, the surface is levelled, and paint suitable for the room is used. In bathrooms, kitchens, utility rooms and on external walls, ventilation, waterproofing and leak checks remain essential to maintaining the paintwork and render.
Comments
No comments yet. Be the first to comment!
Leave a Comment