
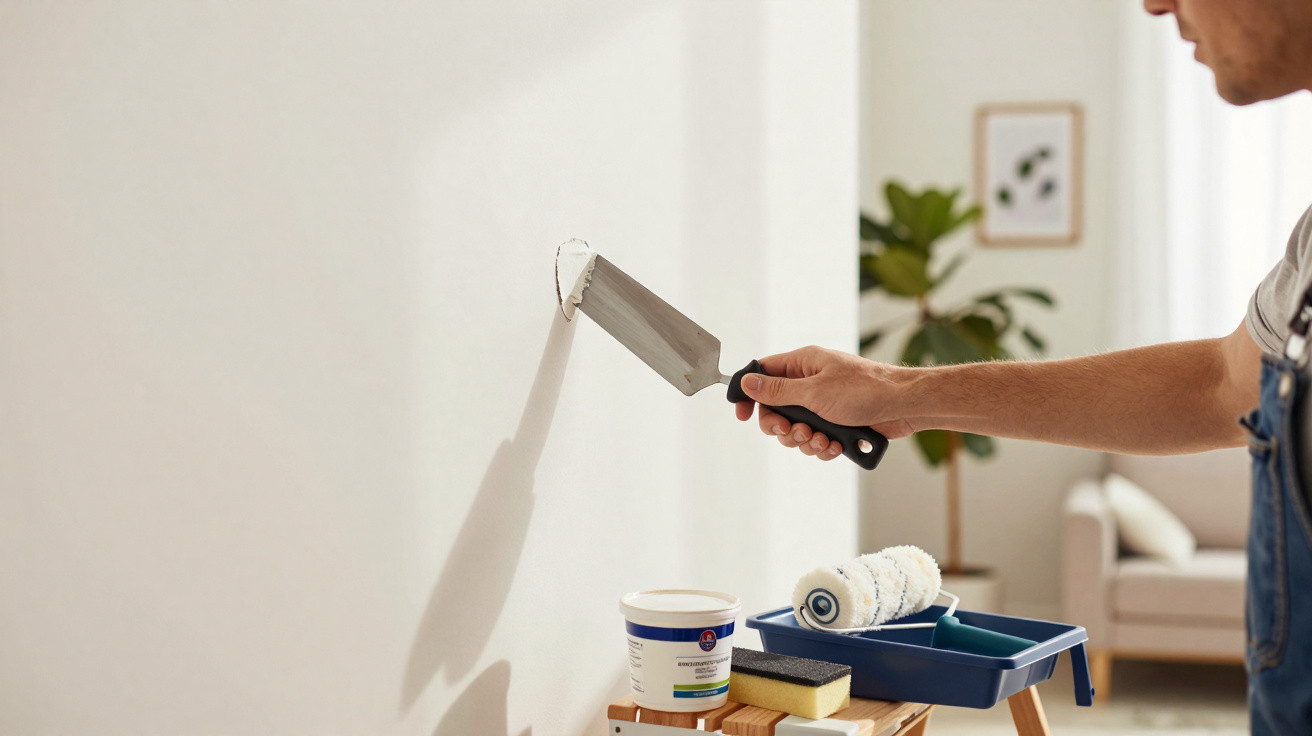
A door handle slammed into it, a shelf ripped away too quickly, a child’s fist after losing a match… Holes in walls rarely appear at a convenient time. And when the morning light falls across the repair at an angle, even the smallest imperfection can look enormous. The good news is that an unobtrusive repair is not simply about the filler bought from the DIY shop. Above all, it relies on a few patient, often overlooked techniques that make the difference between an obvious patch and a wall that looks untouched.
We all know that slightly awkward moment when a hole in the wall is spotted just before family arrives, a landlord visits or it is time to hand back the keys to a property. You put a picture over it, move a plant in front of it, promise to deal with it on Sunday… yet the blemish ends up catching your eye every time you walk past. Repairing it properly does not necessarily require specialist skills, but it does mean slowing down. A flawless disguise rarely starts with a dramatic gesture. It happens in the details, the ones that disappear once the wall is smooth again. Here is what genuinely improves the result.
Before filling a hole: understand what the wall is telling you
A small rawlplug hole is entirely different from a hollow left by a handle or furniture fixing. When assessing the wall, start by examining its edges: are they clean, crumbly, dented or surrounded by a crack? Taking a minute to look closely prevents plenty of disappointment. On a plasterboard partition, the board may be hollow and delicate; on an old plaster wall, the powdery material needs gentler preparation. An invisible repair is decided before the tub of filler is even opened.
In an older flat, a tenant tried to hide a 4-centimetre hole behind a coat hook using toothpaste, a tip that still circulates on social media. Two days later, the surface had cracked and taken on a slightly yellow tint. For a hole smaller than 5 millimetres, ready-mixed wall filler is often enough. Above 2 or 3 centimetres, the inside will generally need reinforcing with tape or a small piece of plasterboard; otherwise, the filler is working over an empty space.
The wall’s texture also reveals its age. Matt paint absorbs light, while a satin finish highlights every bump; a fine textured render cannot be repaired in the same way as a perfectly smooth surface. Let us be honest: hardly anyone does this every day. Even so, identifying the existing finish helps you select the right abrasive grit, the suitable filler and, crucially, the right way to recreate the surface. A hole that has been filled well but given the wrong texture will remain noticeable, even beneath three coats of paint.
Techniques that make the hole disappear, not merely conceal it
First remove anything loose around the damaged area: dust, lifting wallpaper, rawlplug remnants or small pieces of plaster. Vacuum out the recess, then wipe it with a slightly damp cloth so the filler adheres to a sound surface. With a deep hole, fill it in two applications rather than applying one thick layer that will dry poorly at its centre. Holding a flexible filling knife almost flat makes it easier to draw the material outwards without creating a ridge. The aim is not to fill the hole quickly, but to rebuild the wall’s flat plane.
The most common mistake is sanding as soon as the filler feels dry to the touch. It may seem firm on the surface while remaining damp deeper down, particularly if the hole was large or the room has poor ventilation. Follow the drying time stated on the packaging, then run your hand over the repair before reaching for the abrasive. If it feels cold, wait a little longer. Grade 120 sandpaper removes excess material; grade 180 or 240 refines the area. Raking light is your best check: shine a lamp across the wall from the side and imperfections will show themselves mercilessly.
The disguise becomes truly convincing when it is time to paint. It is better to use what remains of the original tin, even if it has been sitting at the back of a cupboard for months, than to buy a supposedly “close” shade from a shop: two whites can look identical before drying, then reveal a clear difference afterwards.
“A successful repair is not noticed by looking at the hole: it disappears into the wall as a whole.”
Keep these straightforward guidelines in mind:
- apply a primer over the filler if the paint is matt or very light;
- blend the touch-up with a small roller rather than using a brush alone;
- if the paint colour is old, repaint the whole wall section to avoid a halo.
An invisible finish often depends on what happens after the final roller stroke
A wall does not receive light evenly throughout the day, which is when rushed repairs give themselves away. Once it has dried completely, inspect the area in the morning and again in the evening, standing 1 metre away and then 3 metres away. A faint circular shadow often indicates insufficient filler or a different texture. Reworking an area that has already been painted can be frustrating, but a thin finishing coat followed by light sanding is far less noticeable than a flaw left because of tiredness. An invisible result requires that extra bit of patience.
For textured walls, the key is to copy the movement that created the texture without chasing artificial perfection. A sponge carrying only a little paint can reproduce a soft grain; a short-bristled brush creates a more irregular effect on some older plaster finishes. Test the method first behind furniture or on a piece of cardboard. The repair should resemble the wall, not a DIY demonstration. This slightly controlled irregularity is often more convincing than an overly smooth, almost new-looking patch in the middle of a lived-in wall.
There is also a very practical question: should you repair everything yourself? For a straightforward hole, the answer is often yes, with some time and less than £20 worth of materials if you already have the paint. A crack that is spreading, a damp wall or a partition that sounds hollow across a large area warrants professional advice. Concealment must never hide a structural problem or water ingress. Repairing also means recognising what should not be covered up.
| Essential point | Detail | Added value for the reader |
|---|---|---|
| Prepare the surface | Remove crumbly material, remove dust and dampen it slightly if the wall is very dry. | The filler bonds more effectively and reduces the risk of cracking once dry. |
| Work in thin layers | Fill deep holes in several applications, allowing each one to dry in between. | The surface remains stable, level and easier to sand without creating dips. |
| Check the paintwork | Inspect it in raking light and repaint a whole wall section if the touch-up creates a halo. | The wall regains an even appearance, even as the light changes in the room. |






Comments
No comments yet. Be the first to comment!
Leave a Comment